Introduction
Welcome to our guide on the steps for setting up an above ground pool. Whether you’re a first-time pool owner or looking to upgrade your existing pool, this article will provide you with the essential steps to get started. By following these instructions, you’ll be able to enjoy a refreshing dip in your own backyard oasis in no time.
Step 1: Choosing the Right Location
The first step in setting up an above ground pool is selecting the perfect location. Look for a level area with sufficient space to accommodate the size of the pool you’ve chosen. Ensure there are no underground utilities or obstacles that may cause issues during installation.
It’s also important to consider factors such as sunlight exposure and proximity to trees or other debris that may require regular cleaning. Taking the time to select the ideal location will ensure a smooth and enjoyable pool experience.
Step 2: Preparing the Ground
Once you’ve chosen the location, it’s time to prepare the ground. Start by removing any grass, rocks, or other debris from the area. Use a shovel to level the ground if necessary, ensuring a flat and stable base for your pool.
Consider using a ground cloth or sand layer to provide additional protection to the pool liner. This will help prevent any sharp objects from puncturing the bottom of the pool and ensure a longer lifespan for your investment.
Step 3: Assembling the Pool
Now that the ground is ready, it’s time to assemble the pool. Follow the manufacturer’s instructions carefully, as each pool may have specific assembly requirements. Begin by laying out the bottom rails and connecting them to form a circle.
Next, attach the vertical supports and secure them firmly. Install the pool liner according to the instructions, ensuring it is smooth and wrinkle-free. Finally, connect the top rails and secure them in place. Take your time during this step to ensure a sturdy and well-constructed pool.
Step 4: Filling and Testing
Once the pool is assembled, it’s time to fill it with water. Connect a garden hose to the pool’s water inlet and begin filling. Monitor the water level as it rises, ensuring it reaches the recommended level specified by the manufacturer.
While the pool is filling, it’s a good time to test the water for chemical balance. Use a pool testing kit to check the pH, chlorine, and other chemical levels. Adjust as necessary to ensure a safe and clean swimming environment.
Step 5: Pool Accessories and Safety Measures
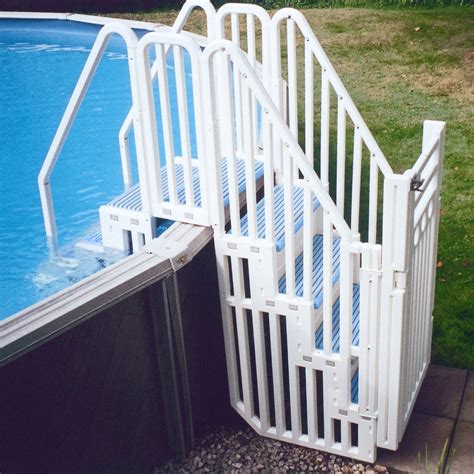
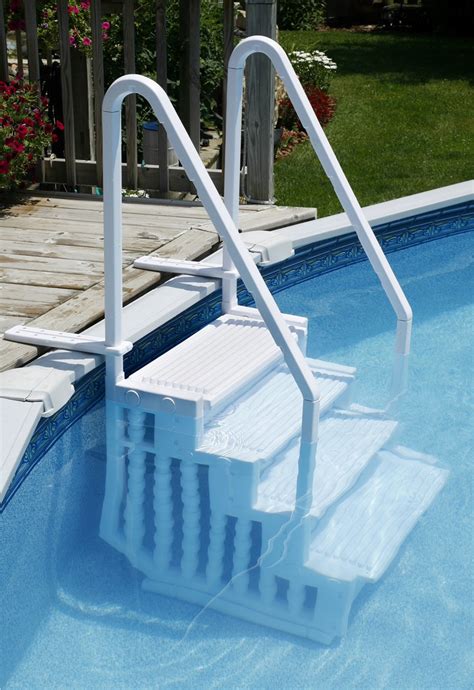
With the pool filled and chemically balanced, it’s time to add some accessories and implement safety measures. Consider installing a pool ladder or steps for easy entry and exit. You may also want to invest in a pool cover to protect the water from debris and maintain its cleanliness.
Additionally, make sure to implement safety measures such as installing a pool fence or gate to prevent accidents, especially if you have young children or pets. Familiarize yourself with pool safety guidelines and always supervise swimming activities.
Conclusion
Setting up an above ground pool can be an exciting project that provides endless hours of fun and relaxation. By following these steps, you’ll be well on your way to enjoying your own backyard oasis. Remember to always prioritize safety and proper maintenance to ensure a long-lasting and enjoyable pool experience.

