
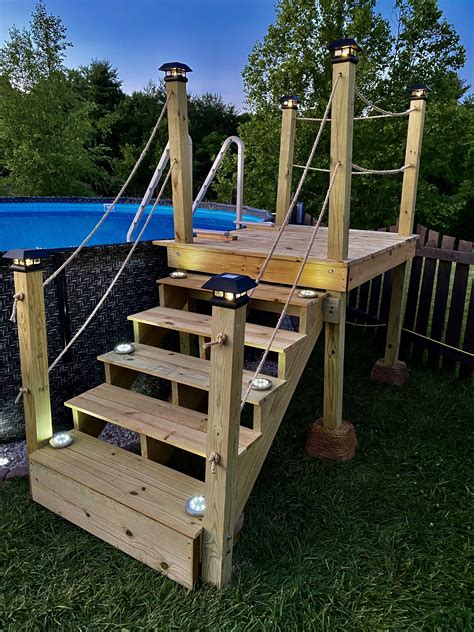
Introduction
Having an above ground pool in your backyard is a great way to beat the summer heat and enjoy some fun in the sun. If you’re considering installing an above ground pool yourself, this guide will provide you with the essential steps to get you started. By following these DIY steps, you can save money and have the satisfaction of knowing that you built your own pool.
Step 1: Planning and Preparation
The first step in any DIY project is proper planning and preparation. Start by measuring your backyard to determine the ideal location for your above ground pool. Consider factors such as sunlight exposure, proximity to utilities, and any potential obstacles. Once you have a suitable location, check with your local zoning department to ensure compliance with any regulations or permits required.
Step 2: Pool Selection and Purchase
Once you have determined the location, it’s time to select and purchase your above ground pool. There are various shapes, sizes, and materials available, so choose one that suits your preferences and budget. Consider factors such as durability, ease of installation, and maintenance requirements. It’s also important to purchase all the necessary accessories, such as a pool pump, filter, ladder, and cover.
Step 3: Site Preparation
Before you start assembling your pool, you need to prepare the site properly. Clear the area of any rocks, debris, or vegetation that could potentially damage the pool liner. Level the ground using a shovel or a laser level to ensure a stable and even foundation. It’s also recommended to lay a ground cloth or sand layer to provide an additional layer of protection for the pool liner.
Step 4: Pool Assembly
Now it’s time to assemble your above ground pool. Follow the manufacturer’s instructions carefully and enlist the help of a friend or family member for assistance. Start by assembling the pool walls, connecting them securely with the provided hardware. Once the walls are in place, install the pool liner, making sure it is wrinkle-free. Attach the pool pump, filter, and any other accessories according to the manufacturer’s guidelines.
Step 5: Filling and Testing
After the pool is fully assembled, it’s time to fill it with water. Connect a garden hose to your water source and start filling the pool gradually. Keep an eye on the water level to prevent overfilling. Once the pool is filled, turn on the pump and filter system to ensure everything is working properly. Check for any leaks or malfunctions and make necessary adjustments or repairs.
Step 6: Pool Maintenance
Once your pool is up and running, it’s essential to establish a regular maintenance routine. This includes testing the water chemistry, adjusting the pH levels, and adding appropriate chemicals to keep the water clean and safe for swimming. Regularly clean the pool walls and floor, skim the surface for debris, and maintain the pump and filter system as recommended by the manufacturer. By following these maintenance steps, you can enjoy your above ground pool for many years to come.

