
Introduction
Building a swimming pool in your backyard can be a dream come true. It not only adds value to your property but also provides a cool and refreshing escape during hot summer months. While the process of pool construction may seem overwhelming, breaking it down into step-by-step stages can make it more manageable and less stressful. In this article, we will walk you through the pool construction process, from planning to completion.
Step 1: Design and Planning
The first step in building a pool is to determine the design and layout that best suits your needs and preferences. Consider factors such as the size of your backyard, the shape of the pool, and any additional features you would like to incorporate, such as waterfalls or slides. Consulting with a professional pool designer can help you create a blueprint that meets your requirements and fits within your budget.
Step 2: Obtaining Permits
Before you can start construction, you will need to obtain the necessary permits from your local municipality. This typically involves submitting your pool plans, paying a fee, and ensuring compliance with building codes and safety regulations. Be sure to check with your local authorities to understand the specific requirements and timeline for obtaining permits in your area.
Step 3: Excavation
Once you have the necessary permits, the next step is excavation. This involves digging a hole in your backyard that is the desired size and shape of your pool. Heavy machinery, such as excavators, will be used to remove the soil and create the space for your pool. It is important to work with experienced professionals during this stage to ensure accurate measurements and proper excavation techniques.
Step 4: Construction of the Pool Shell
After excavation, the pool shell is constructed using a variety of materials, such as concrete, fiberglass, or vinyl. Each material has its advantages and considerations, so it is important to choose the one that best suits your needs. The pool shell provides the structural support and shape for your pool, so it is important to ensure that it is built to high-quality standards.
Step 5: Installation of Plumbing and Electrical Systems
Once the pool shell is complete, the plumbing and electrical systems are installed. This includes the installation of pipes, filters, pumps, and lighting fixtures. It is important to hire a licensed professional for this stage to ensure that all connections are properly made and that the systems are functioning safely and efficiently.
Step 6: Finishing Touches and Landscaping
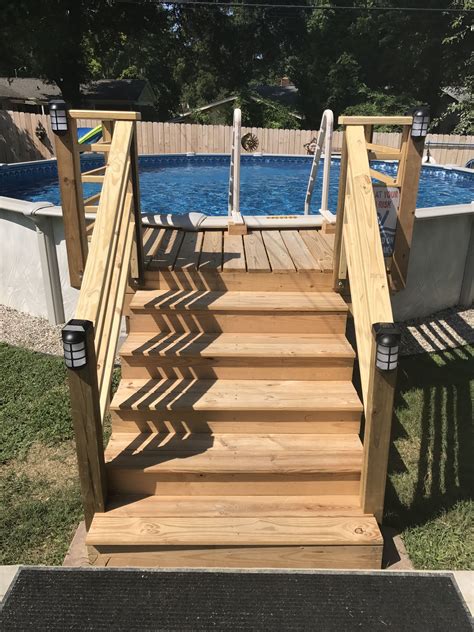
The final step in pool construction is adding the finishing touches and landscaping around the pool area. This may include applying a waterproof finish to the pool shell, installing tiles or decking around the pool, and adding any desired features such as waterfalls or seating areas. Landscaping elements such as plants, trees, and outdoor furniture can also enhance the overall aesthetic appeal of your pool area.
By following these step-by-step guidelines, you can ensure a smooth and successful pool construction process. Remember to consult with professionals, obtain the necessary permits, and prioritize safety at every stage. Soon enough, you’ll be enjoying your own backyard oasis and creating lasting memories with family and friends.

