Introduction
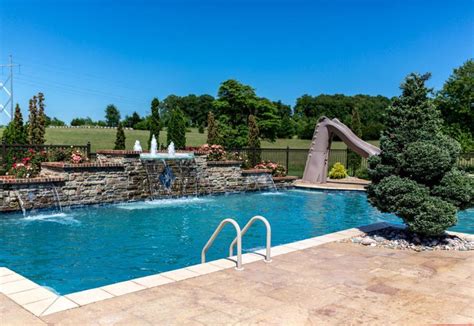
Gunite pools are a popular choice for homeowners who want to add a luxurious and durable swimming pool to their backyard. Unlike other types of pools, gunite pools are constructed using a mixture of sand, cement, and water that is sprayed onto a steel rebar framework. This combination creates a strong and long-lasting pool that can be customized in various shapes and sizes. In this article, we will discuss the step-by-step process of constructing a gunite pool.
Step 1: Design and Permits
The first step in constructing a gunite pool is to design the pool according to your preferences and obtain the necessary permits from your local authorities. A professional pool designer will work with you to create a design that suits your backyard space and meets all safety regulations. Once the design is finalized, the necessary permits can be obtained to ensure compliance with local building codes.
Step 2: Excavation
After obtaining the permits, the next step is to excavate the area where the pool will be built. This involves removing the topsoil and digging a hole according to the pool design. Excavation must be done carefully to ensure the proper dimensions and slope of the pool. The excavated area should be free from any debris or rocks that may affect the pool’s structure.
Step 3: Steel Reinforcement
Once the excavation is complete, a steel rebar framework is installed to provide structural support to the pool. The rebar is placed according to the design specifications and secured in place using wire ties. This reinforcement will ensure that the pool maintains its shape and withstands the pressure of the gunite mixture.
Step 4: Plumbing and Electrical
Before the gunite is sprayed, all plumbing and electrical work must be completed. This includes installing the necessary pipes, drains, and electrical connections for the pool equipment, such as pumps, filters, and lights. It is important to hire a licensed professional to handle the plumbing and electrical work to ensure safety and compliance with building codes.
Step 5: Gunite Application
Once the plumbing and electrical work is completed, the gunite mixture is sprayed onto the rebar framework. Gunite is a mixture of sand, cement, and water that is applied using a high-pressure hose. The mixture is carefully applied in layers, allowing each layer to dry before the next one is added. This process creates a solid and durable pool shell that can withstand the test of time.
Step 6: Finishing Touches
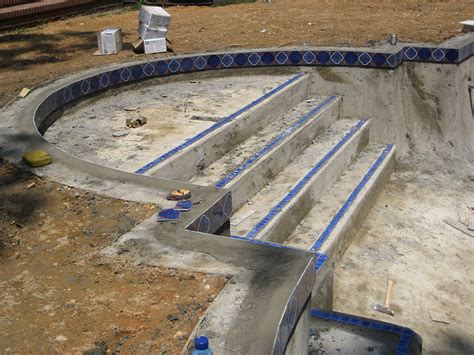
After the gunite has cured, the pool is ready for the finishing touches. This includes adding a waterproofing layer, such as plaster or tile, to the pool shell. The pool deck can be constructed using various materials, such as concrete, stone, or wood. Finally, the pool is filled with water, and the necessary chemicals are added to maintain water balance and cleanliness.
In conclusion, constructing a gunite pool involves several important steps, from design and permits to excavation, steel reinforcement, plumbing and electrical work, gunite application, and finishing touches. By following these steps, you can have a beautiful and durable gunite pool that will provide years of enjoyment for you and your family.

