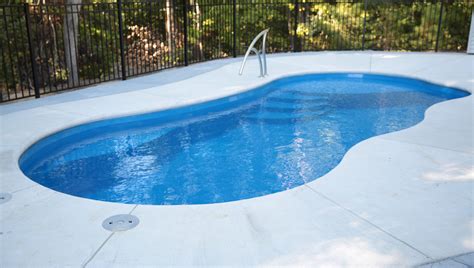
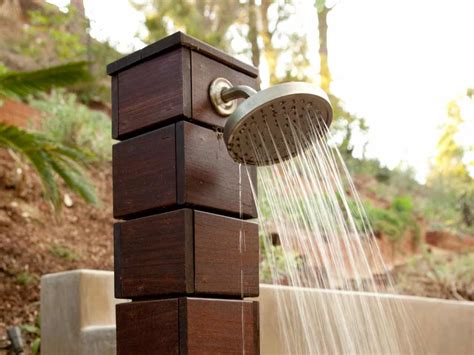
As the summer heat intensifies, there’s nothing more refreshing than taking a dip in your very own backyard pool. But what if you could enhance your poolside experience even further? Enter the DIY pool shower – a simple and affordable project that can elevate your outdoor oasis to new heights of convenience and luxury.
Why Install a Pool Shower?
Having a pool shower offers numerous benefits for both you and your loved ones. Firstly, it promotes good hygiene by allowing swimmers to rinse off before and after taking a dip in the pool. This helps to remove any dirt, sweat, or chemicals that may be present on their bodies, ensuring a clean and safe swimming environment for everyone.
Secondly, a pool shower can help to maintain the cleanliness of your pool water. By rinsing off before entering the pool, swimmers can minimize the introduction of external contaminants such as sunscreen, lotions, and oils. This can reduce the need for excessive pool chemical treatments and help to keep your pool water crystal clear.
How to Build Your Own DIY Pool Shower
Building a DIY pool shower is easier than you might think. Here are the steps to get you started:
Step 1: Gather Your Materials
To build your pool shower, you’ll need a few basic materials such as PVC pipes, fittings, a showerhead, a valve, and some waterproof sealant. You can easily find these items at your local hardware store or online.
Step 2: Plan Your Design
Decide on the location of your pool shower and plan out the design. Consider factors such as accessibility, water source, and privacy. You may want to position the shower near your pool entrance for easy access or place it in a secluded area for added privacy.
Step 3: Assemble the PVC Pipes
Start by assembling the PVC pipes and fittings according to your design. Make sure to use PVC cement to securely connect the pieces together. This will ensure that your pool shower is sturdy and leak-free.
Step 4: Install the Showerhead and Valve
Attach the showerhead and valve to the PVC pipes. The valve will allow you to control the water flow, while the showerhead can be adjusted to your desired height and angle. Make sure to use waterproof sealant to prevent any leaks.
Step 5: Connect to Water Source
Connect your DIY pool shower to a nearby water source, such as an outdoor faucet or garden hose. You may need to use additional fittings or adapters to ensure a secure connection.
Step 6: Test and Enjoy!
Before using your pool shower, turn on the water and check for any leaks or malfunctions. Once everything is in working order, it’s time to enjoy the refreshing experience of your DIY pool shower. Rinse off before and after swimming, and bask in the convenience and luxury it brings to your outdoor oasis.
Conclusion
A DIY pool shower is a fantastic addition to any backyard pool. It promotes good hygiene, helps to maintain pool cleanliness, and enhances the overall swimming experience. By following these simple steps, you can easily build your own pool shower and enjoy the benefits it offers. So why wait? Start your DIY project today and upgrade your outdoor oasis to a whole new level of comfort and convenience.

