Introduction
If you have a pool at home, having a pool deck can be a great addition. It not only enhances the aesthetics of your pool area but also provides a safe and convenient space to relax and enjoy the pool. Building a pool deck may seem like a daunting task, but with the right tools and guidance, it can be a rewarding DIY project. In this article, we will provide you with step-by-step instructions on how to build a pool deck in a cost-effective and efficient way.
Planning and Design
Before you start building your pool deck, it is important to have a well-thought-out plan and design. Consider the size and shape of your pool, the space available, and the materials you want to use. Sketch out a design and take accurate measurements to ensure that your pool deck fits perfectly and complements the overall look of your backyard.
Materials and Tools
Once you have finalized the design, gather all the necessary materials and tools. You will need pressure-treated lumber for the framework, deck boards for the surface, concrete footings, screws, nails, a circular saw, a drill, a level, and a measuring tape. It is important to choose high-quality materials that can withstand outdoor elements and provide durability.
Building the Framework
Start by marking the outline of your pool deck using stakes and string. Dig holes for the concrete footings and pour the concrete in. Once the footings are ready, start building the framework using pressure-treated lumber. Ensure that the framework is level and secure. This will serve as the base for your pool deck.
Installing the Deck Boards
Once the framework is complete, it’s time to install the deck boards. Start from one end and work your way to the other, ensuring that each board is properly aligned and secured with screws. Leave a small gap between each board to allow for expansion and drainage. Trim the excess board length as needed for a clean and polished finish.
Adding Finishing Touches
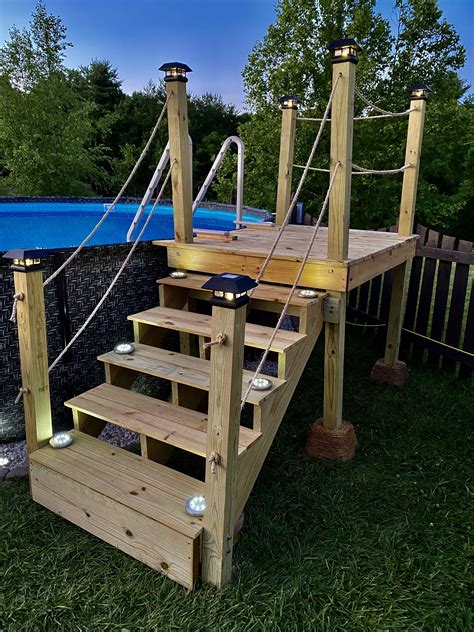
After the deck boards are installed, it’s time to add the finishing touches. Sand down any rough edges, apply a weather-resistant sealant or stain to protect the wood, and add any additional features such as railings or stairs for easy access. Once everything is in place, give your pool deck a thorough cleaning and enjoy your newly built oasis.
Conclusion
Building a DIY pool deck can be a fulfilling project that adds value and functionality to your home. With proper planning, the right materials, and careful execution, you can create a beautiful and functional pool deck that enhances your outdoor living space. So roll up your sleeves, gather your tools, and get ready to enjoy your pool in style.

