Introduction
With the scorching heat of summer, what could be better than having your own plunge pool to cool off in? Building a plunge pool doesn’t have to be expensive or complicated. In this article, we will guide you through the process of creating a cheap DIY plunge pool right in your backyard. So, let’s dive in!
Choosing the Right Location
The first step in creating your own plunge pool is selecting the perfect spot in your backyard. Look for an area that receives ample sunlight and is away from overhanging trees. Additionally, consider the privacy factor and choose a location that is not directly visible from the neighbor’s yard. Once you have identified the ideal spot, it’s time to move on to the next step.
Gathering the Materials
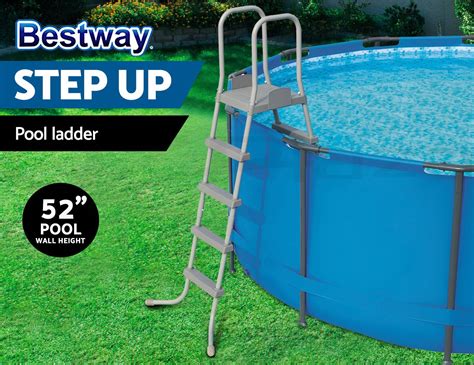
Creating a cheap DIY plunge pool requires a few essential materials. You will need a large container, such as a stock tank or an old dumpster, that can hold water. Additionally, you will need a water pump, filter, and some PVC pipes for circulation. Don’t forget to add a ladder for easy access into the pool. Lastly, gather some sand and gravel for the pool’s base and surrounding area.
Preparing the Ground
Before installing the plunge pool, it’s important to prepare the ground properly. Start by clearing any grass or debris from the chosen area. Level the ground using a shovel or a rake to ensure a stable foundation. Once the ground is leveled, spread a layer of sand and gravel to create a firm base for the pool. Compact the base by using a tamper or your feet.
Installing the Plunge Pool
Now comes the exciting part – installing the plunge pool! Carefully place the container in the prepared area. Attach the water pump and filter to the pool using the PVC pipes. Ensure that the pipes are securely connected to prevent any leaks. Fill the pool with water and let it settle for a day or two. During this time, you can add any accessories, such as pool lights or inflatable toys, to make your plunge pool more enjoyable.
Maintaining Your Plunge Pool
Proper maintenance is crucial to keep your plunge pool clean and safe for swimming. Regularly check and clean the filter to remove any debris or dirt. Test the water’s pH levels and adjust them accordingly using pool chemicals. Additionally, cover the pool when not in use to prevent leaves or insects from entering. With these maintenance tips, your DIY plunge pool will provide endless hours of relaxation and enjoyment.
Cool Off in Your DIY Plunge Pool
Now that you have successfully built your cheap DIY plunge pool, it’s time to cool off and enjoy the refreshing water in the comfort of your own backyard. Invite friends and family over for a pool party or simply relax by yourself after a long day. With a little creativity and effort, you can create a mini oasis that will bring joy and relaxation throughout the summer months.

